This guide has become outdated. Please refer to the newest one: https://forum.aoijs.org/d/55-getting-started-with-aoijs
Hello,
this guide tells you how to create a bot using Aoi.js!
This guide is intended to serve as a alternative to the getting started page of the original docs.
Just so you know when I say,
"bot" it refers to the bot you will using to code.
"repl" it refers to a project created in replit.com.
"server" it refers to a server of a actual host (and with Pterodactly Panel).
## What is Aoi.js?
Aoi.js is a package with simplified and ready-to-use functions for Discord bot developers. It aims to be the easiest package to learn and provides swift and flexible functionality using functions.
## Features of Aoi.js?
640+ Pre-built Functions: aoi.js comes packed with over 640 pre-built functions that empower you to create dynamic and interactive Discord bots with ease.
Built-in Custom Local Database: With aoi.js, you get a powerful custom local database out of the box.
Extensions for Added Functionality: Enhance your bot’s capabilities with aoi.js extensions like aoi.music and aoi.panel. These extensions make it simple to add music playback, interactive panels, and more to your bot.
Easy-to-Use and Beginner Friendly: aoi.js boasts a user-friendly syntax that is perfect for beginners. The simple $ prefix makes it easy to write commands and get your bot up and running quickly.
## So let's get started!
Let's discuss the steps to create a working bot using aoi.js
We will be using replit.com (a public repl) and DanBotHost (a server) here.
In any case, we require NodeJS v20 or above.
Step 1. Create a bot in Discord Developer Portal (I don't have a guide on it so for now google it)
Step 2. Create a public repl with language as node.js or a server with the egg/language nodejs.
Step 3. Now, install aoi.js in the repl by typing on the shell npm install aoi.js or in a server, create a file called package.json with the following code:~~
{
"dependencies": {
"aoi.js": "^6.6.1"
}
}
Step 4 (First Way). Create a file called index.js and put this code
const { AoiClient } = require("aoi.js");
const client = new AoiClient({
token: "TOKEN",
prefix: "PREFIX",
intents: ["MessageContent", "Guilds", "GuildMessages"],
events: ["onMessage", "onInteractionCreate"],
database: {
type: "aoi.db",
db: require("@akarui/aoi.db"),
dbType: "KeyValue",
tables: ["main"],
securityKey: "a-32-characters-long-string-here",
}
});
// Ping Command Example
client.command({
name: "ping",
code: `Pong! $ping MS`
});
Replace TOKEN AND PREFIX with a actual bot token and prefix respectively.
Remember when setting TOKEN in a public repl, remember to use environmental variables/Secrets (.env) to store your variables and load them. I will explain this in below.
We use intents to define the things it can do, use and read in a simple sense. At the moment MessageContent is a privilege intent so you need to enable that intent on the dev portal as well. While events are for a particular event, for listening when a user joins or leaves a server, what message you have written, etc.
It also contains a simple command for you to get the idea.
This now finally sets up your bot.
Step 4 (Second Way). Or, go the shell and type npm create aoijs-bot, it will ask you some questions and answer them. Hurray! it's done. Note though you can't do this in a server as it doesn't allow terminal/shell use.
Step 5. Now run/start your repl or server.
Step 6. Hurray! Your bot is ready to use. It should be online if nothing happens.
Now test the command ping if it works.
Now you might be thinking how to make a command?
You can see in the index.js, I have also put a simple command there or if you used npm create aoijs it will appear in your index, we see that client.command is used to define a command. This is actually necessary and it must start and enclose with ({ and })
Now you see we use something called name: which has a string (here its "ping"`) and in this string we define the command name. (We also put a comma , since there is something below it as well.)
Now there is something called code: and this is the most important thing. This is where you define the code of the command and it must start and enclose with grave symbol, in it we see something called $ping, this is the function, it returns the ping of the bot. We like have 640+ functions like this which can be used to create a lot of commands, which you can read in the docs.
There is also things like alias and events commands. But we won't cover them in this guide, you can go to the docs for learning about the command options.
Well, yeah I have done it and it works. But won't adding the commands in index.js will make it too long and unorganised?
Yeah, it will so for this we have something called Command Handler which is made for this purpose.
We add this line in the index.js
client.loadCommands("./commands/", true)
And we create a folder called commands and you may even create sub-folders inside it.
Now, we create a file inside the commands folder or inside its sub-folders called <command>.js where we replace <command> with a actual command name and in any case it must have the extension js.
Remember you must create command files inside commands folder or else command handler won't work.
Now, we use format like this
module.exports = [{
name: `ping`,
code: `
My ping is $ping MS!
`
}]
We use module.exports instead of client.command
Note you can create a group of commands in a single file using command handler which makes it easy to use.
*If you had used the advanced setup of npm create aoijs-bot this thing will be already done. Please take this part of the guide for understanding.
In any case. I recommend you to use Command Handler.
Alright, I see I can create commands, how do I use this variable and status thingy.
In order to use variables we use this code, put it in index.js
client.variables({
blacklisted: false,
money: 0,
title: "none",
});
We have a variable name (e.g, "title") and a value (e.g "none").
Variables value can be anything, a string, integer, boleen, object.
We add a variable name, put a :, add the value depending on the type and lastly put a ,.
Now for status we use,
client.status({
name: string,
type: string,
time: number,
URL?: string,
afk?: boolean
});
There are basically six type of status :
PLAYING
WATCHING
STREAMING
LISTENING
COMPETING
CUSTOM
We need a name which means the status text, a type and time.
Url and afk are optional and can be removed.
E.g,
client.status({
name: "Example Text one!",
type: "PLAYING",
time: 12,
});
Yes now your bot is fully developed.
You may check the original docs for a lot of information, in fact, I recommend you to read the docs
FAQ
Why you shouldn't reveal bot token?
Bot token are really sensitive, If anybody gets your bot token, that person can use your bot for spamming and other stuffs which could break TOS of discord and even illegal stuffs. So you should never reveal your token.
How to use my token in public repl if I shouldn't reveal my token? You might be thinking this,
For it we have a simple thing called Environmental Variables/Secrets

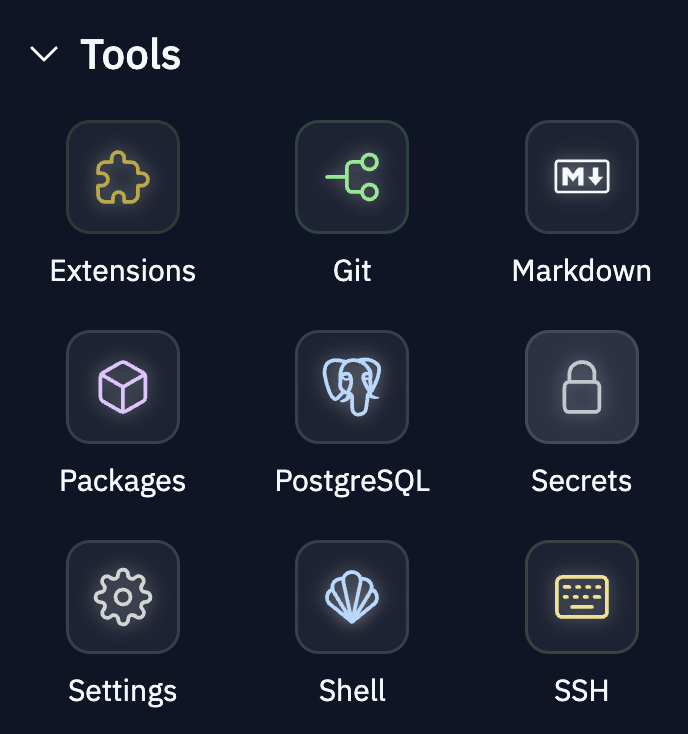
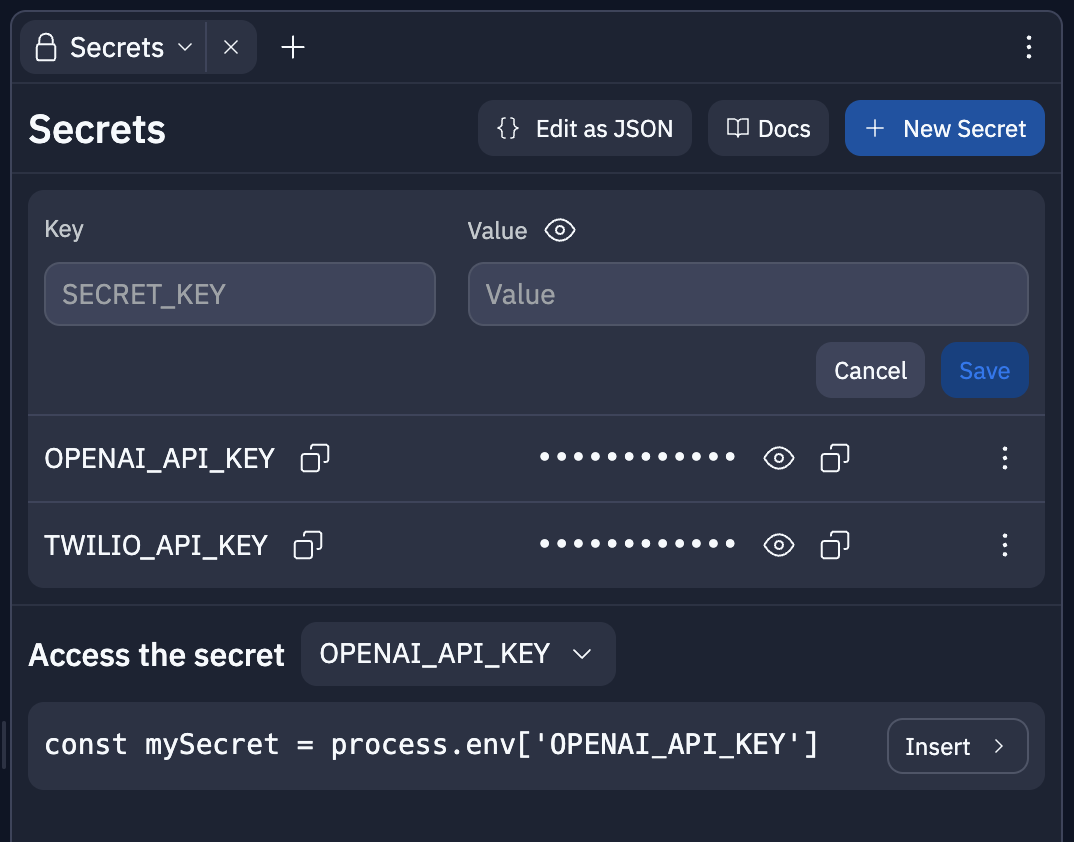
Click on the Secrets, you will see something like this

Click New Secret, put the name and value (for this case we use TOKEN and value as Your Bot token respectively), click Save and hurray it's done.
To retrieve the value of that variable we use.
process.env.TOKEN
if you use a different name change TOKEN to that
In any case it should look like this
...
token: process.env.TOKEN,
...
This thing is not needed in server and private repl as they are private and nobody sees them other than you.
Are this everything aoi.js has?
NO,
This is just a tip of a iceberg what I have said in this guide, Aoi.js has a lot, lot of stuffs.
Read their docs for more information.
What about I don't understand something? How will I ask?
We have a discord server where you can ask us if don't understand we will help you!
For now bye I hope you understood what I said if you don't, please come to our server we will help you.
I thank you for using Aoi.js and reading this guide.
If you found any error, typo, missing stuffs, outdated stuffs, etc, please message me in this discussion.
Related guides!
Migrating from BDFD to Aoi.js
Getting started with slash commands!